In order to get a taste of all the different routes in Visual Design given at GLR we had a class called
'Discovery'. For that we got for each route a quick assignment to finish in 3 weeks. The one I did here was for
Art & Design.
For Art & Design we had to make a meeting point. We had to make this meetingpoint with just one piece of
cardboard. I choose to make a meeting point "made" from (flavoured) chocolate bars.
Once I got the idea sketched out on Photoshop it was time to make the physical meetingpoint.
The piece of cardboard was quite big, I think it was an A2 size. With this cardboard I cutted out 4 pieces
and glues them together. This would be the statue for the chocolatebars.
I'd use the rest of the cardboard for the floor. However I was thinking about making this floor green. But I
later scrapped this idea and used plastic grass instead.
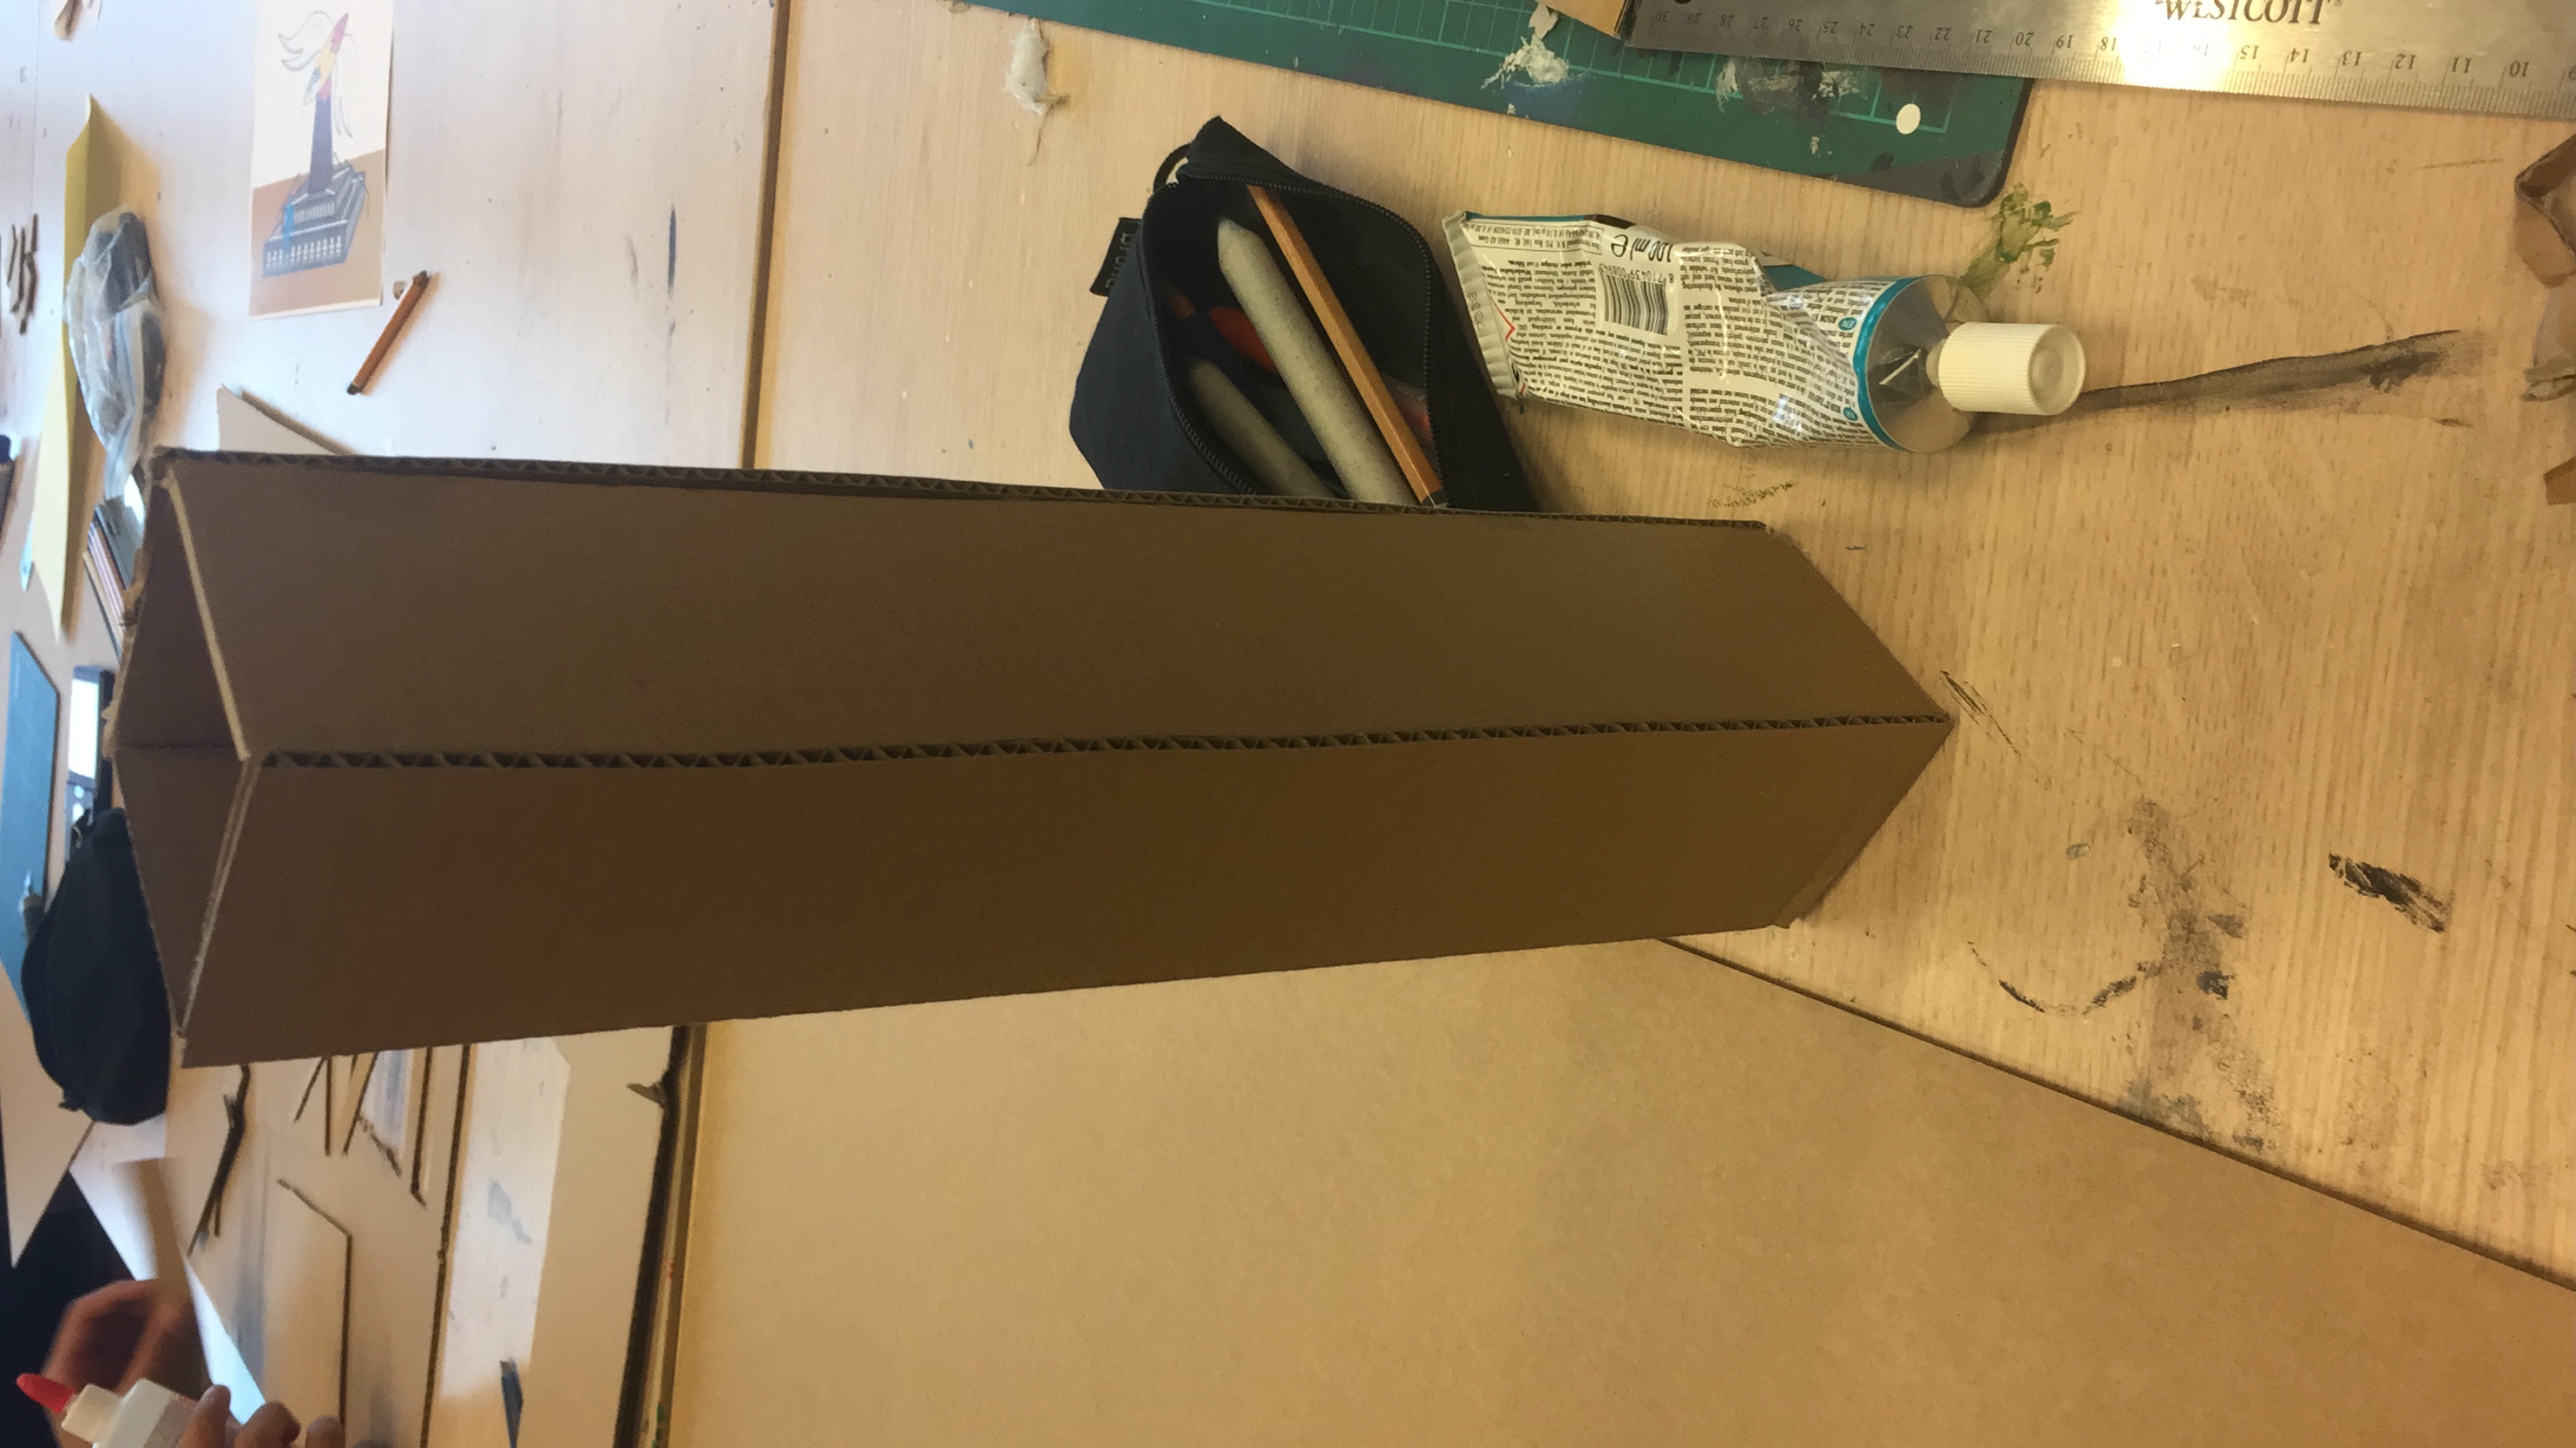
Once the four pieces were cutted out I had to glue them together. With the four sizes stuck together and
standing it appeared that something was missing.
Since I can only use the cardboard for the meetingpoint
itself, the floor started to get even smaller.
Once the 4 bars were glued together I had to think about the bar part of the chocolate.
Would I make them as big as the chocolate itself, or more square?
How big should the bars be?
How many bars will be on each of the chocolates?
Since I can only use the cardboard for the meetingpoint
itself, the floor started to get even smaller.
With the chocolate finally being stuck it was time to cut out the bar pieces. This was quite time consuming
since I wanted to give each chocolate 5 bars.
Which means I needed to cut out 20 bars. And that times 4.
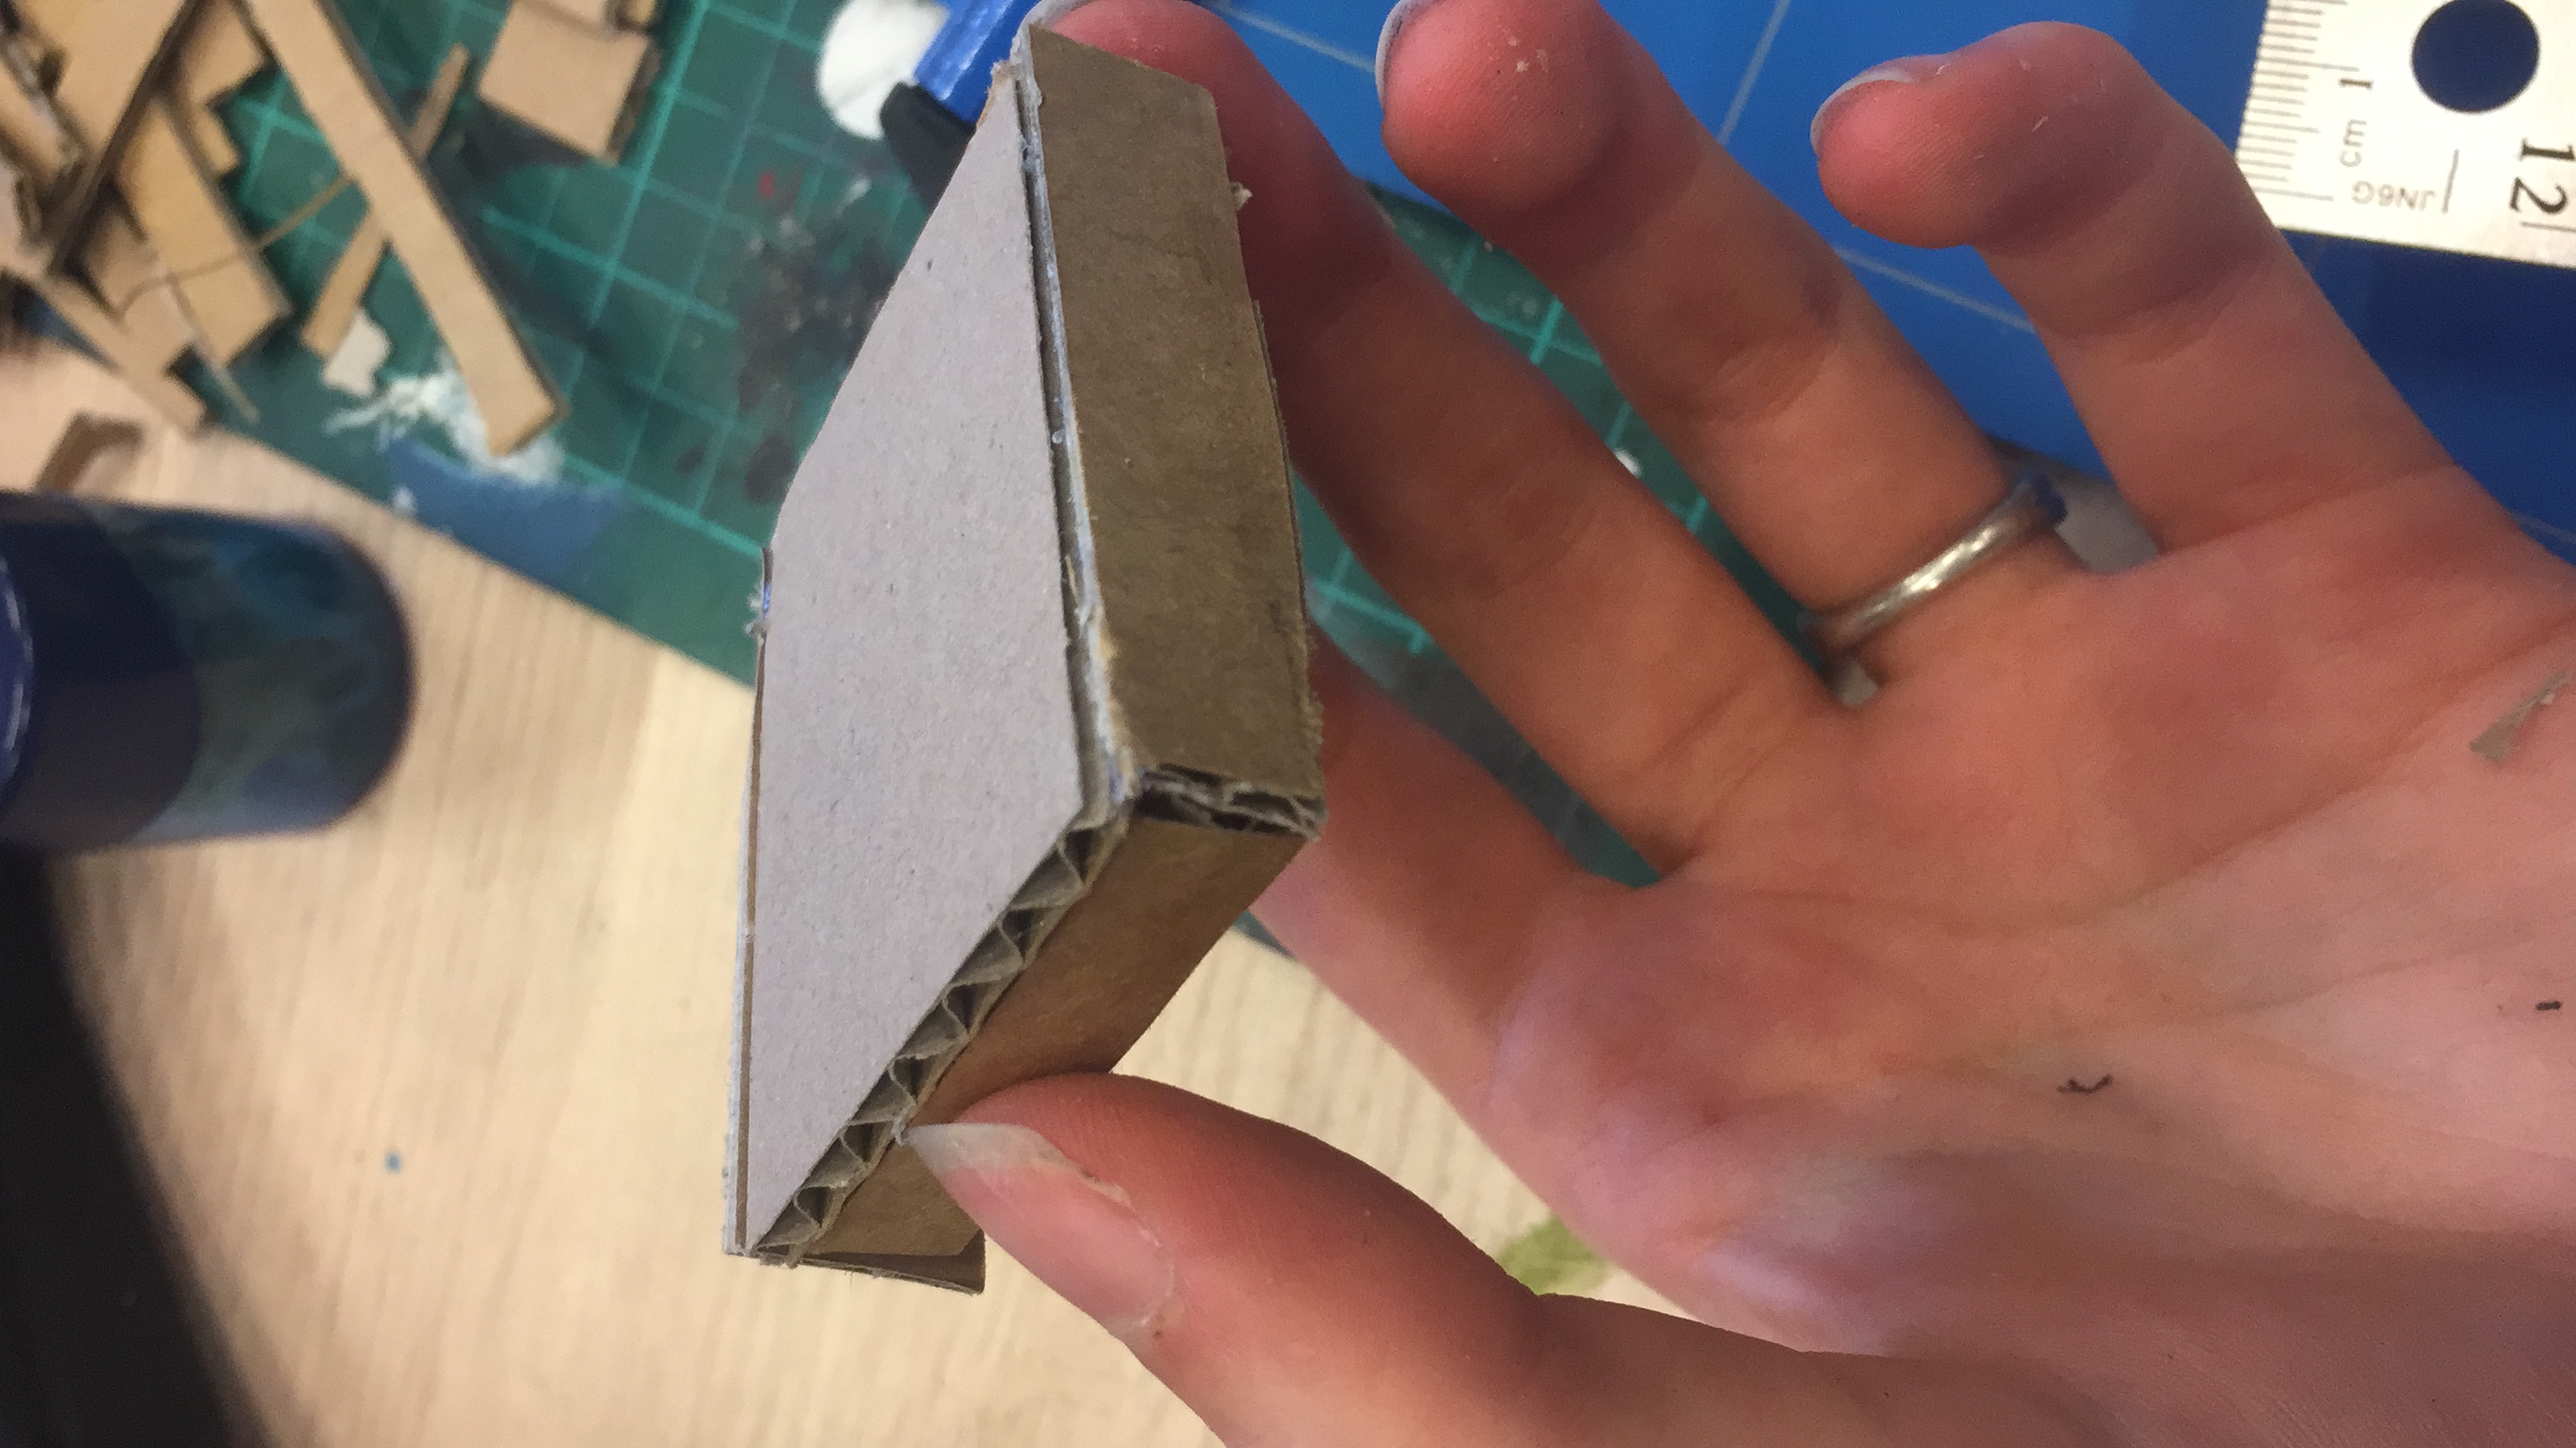
The picture on the right shows how the first bar looks like. As seen the bars are very small and short. This
made it a chore to cut out. What I didn't realise at the moment the picture was made, is that, I need to do
this about 15 more.
After I got about 5 pieces I wanted to check how it would look on a chocolate. I also checked if with 4 it would
be better. This wasn't the case so I made the choice to make for each side 5 bars.
After I got the chocolate bars finished I wanted to work on the environment.
In the environment I wanted to let the people sit on a bench. But not just a bench you can see in the park. I
wanted to make benches that also went with the chocolate vibes. I eventually landed on caramel fudges. These are
in real life not the softest but once you bite it they're quite soft. If I'd ever make this meetingpoint in real
life I'd try to found actual cushions that give that same effect (when you sit on it).
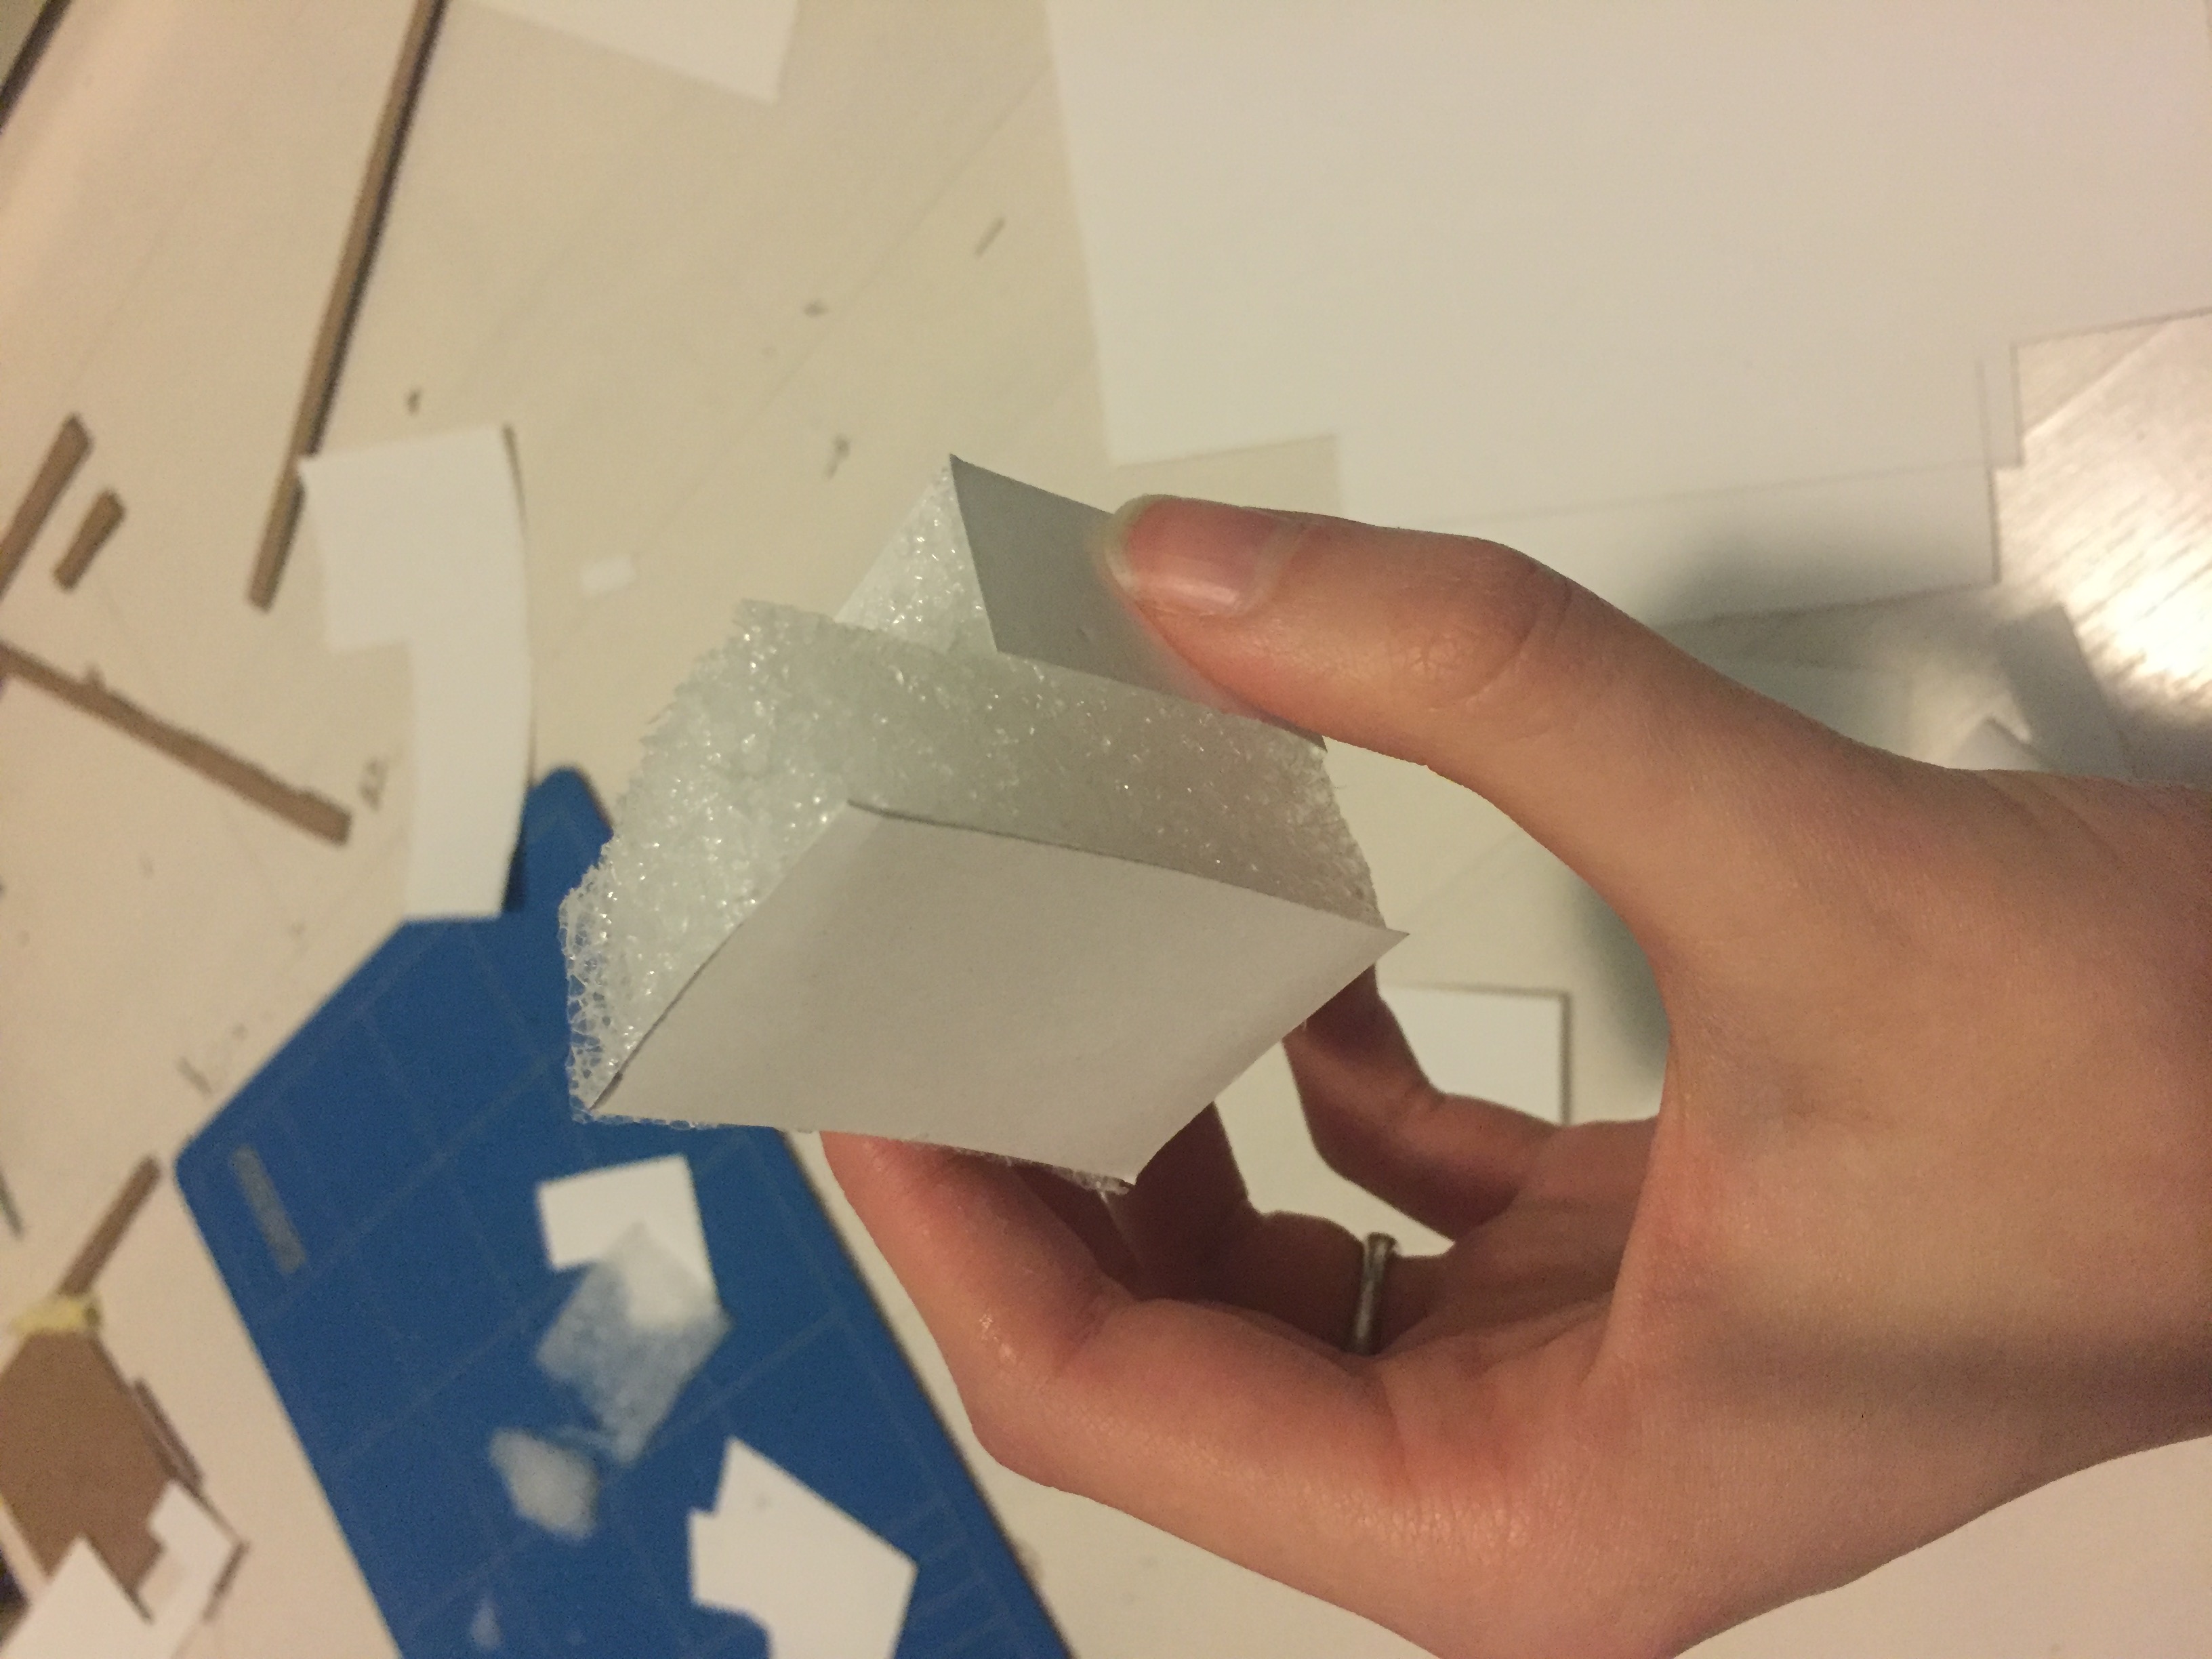
For the environment I got the same idea. I figured that spongy plastic could do the trick. Since this
material gives the same vibes as a fugde. However, painting that sponge would be very difficult to
accomplish. Which led me to another problem to fix.
In order to make this paintable I simply glued some paper on top of it. As the photo shows here left. These
fudges would also be in different shapes and sizes. They of course couldn't be bigger than the meetingpoint
itself. All of these would be glued with paper.
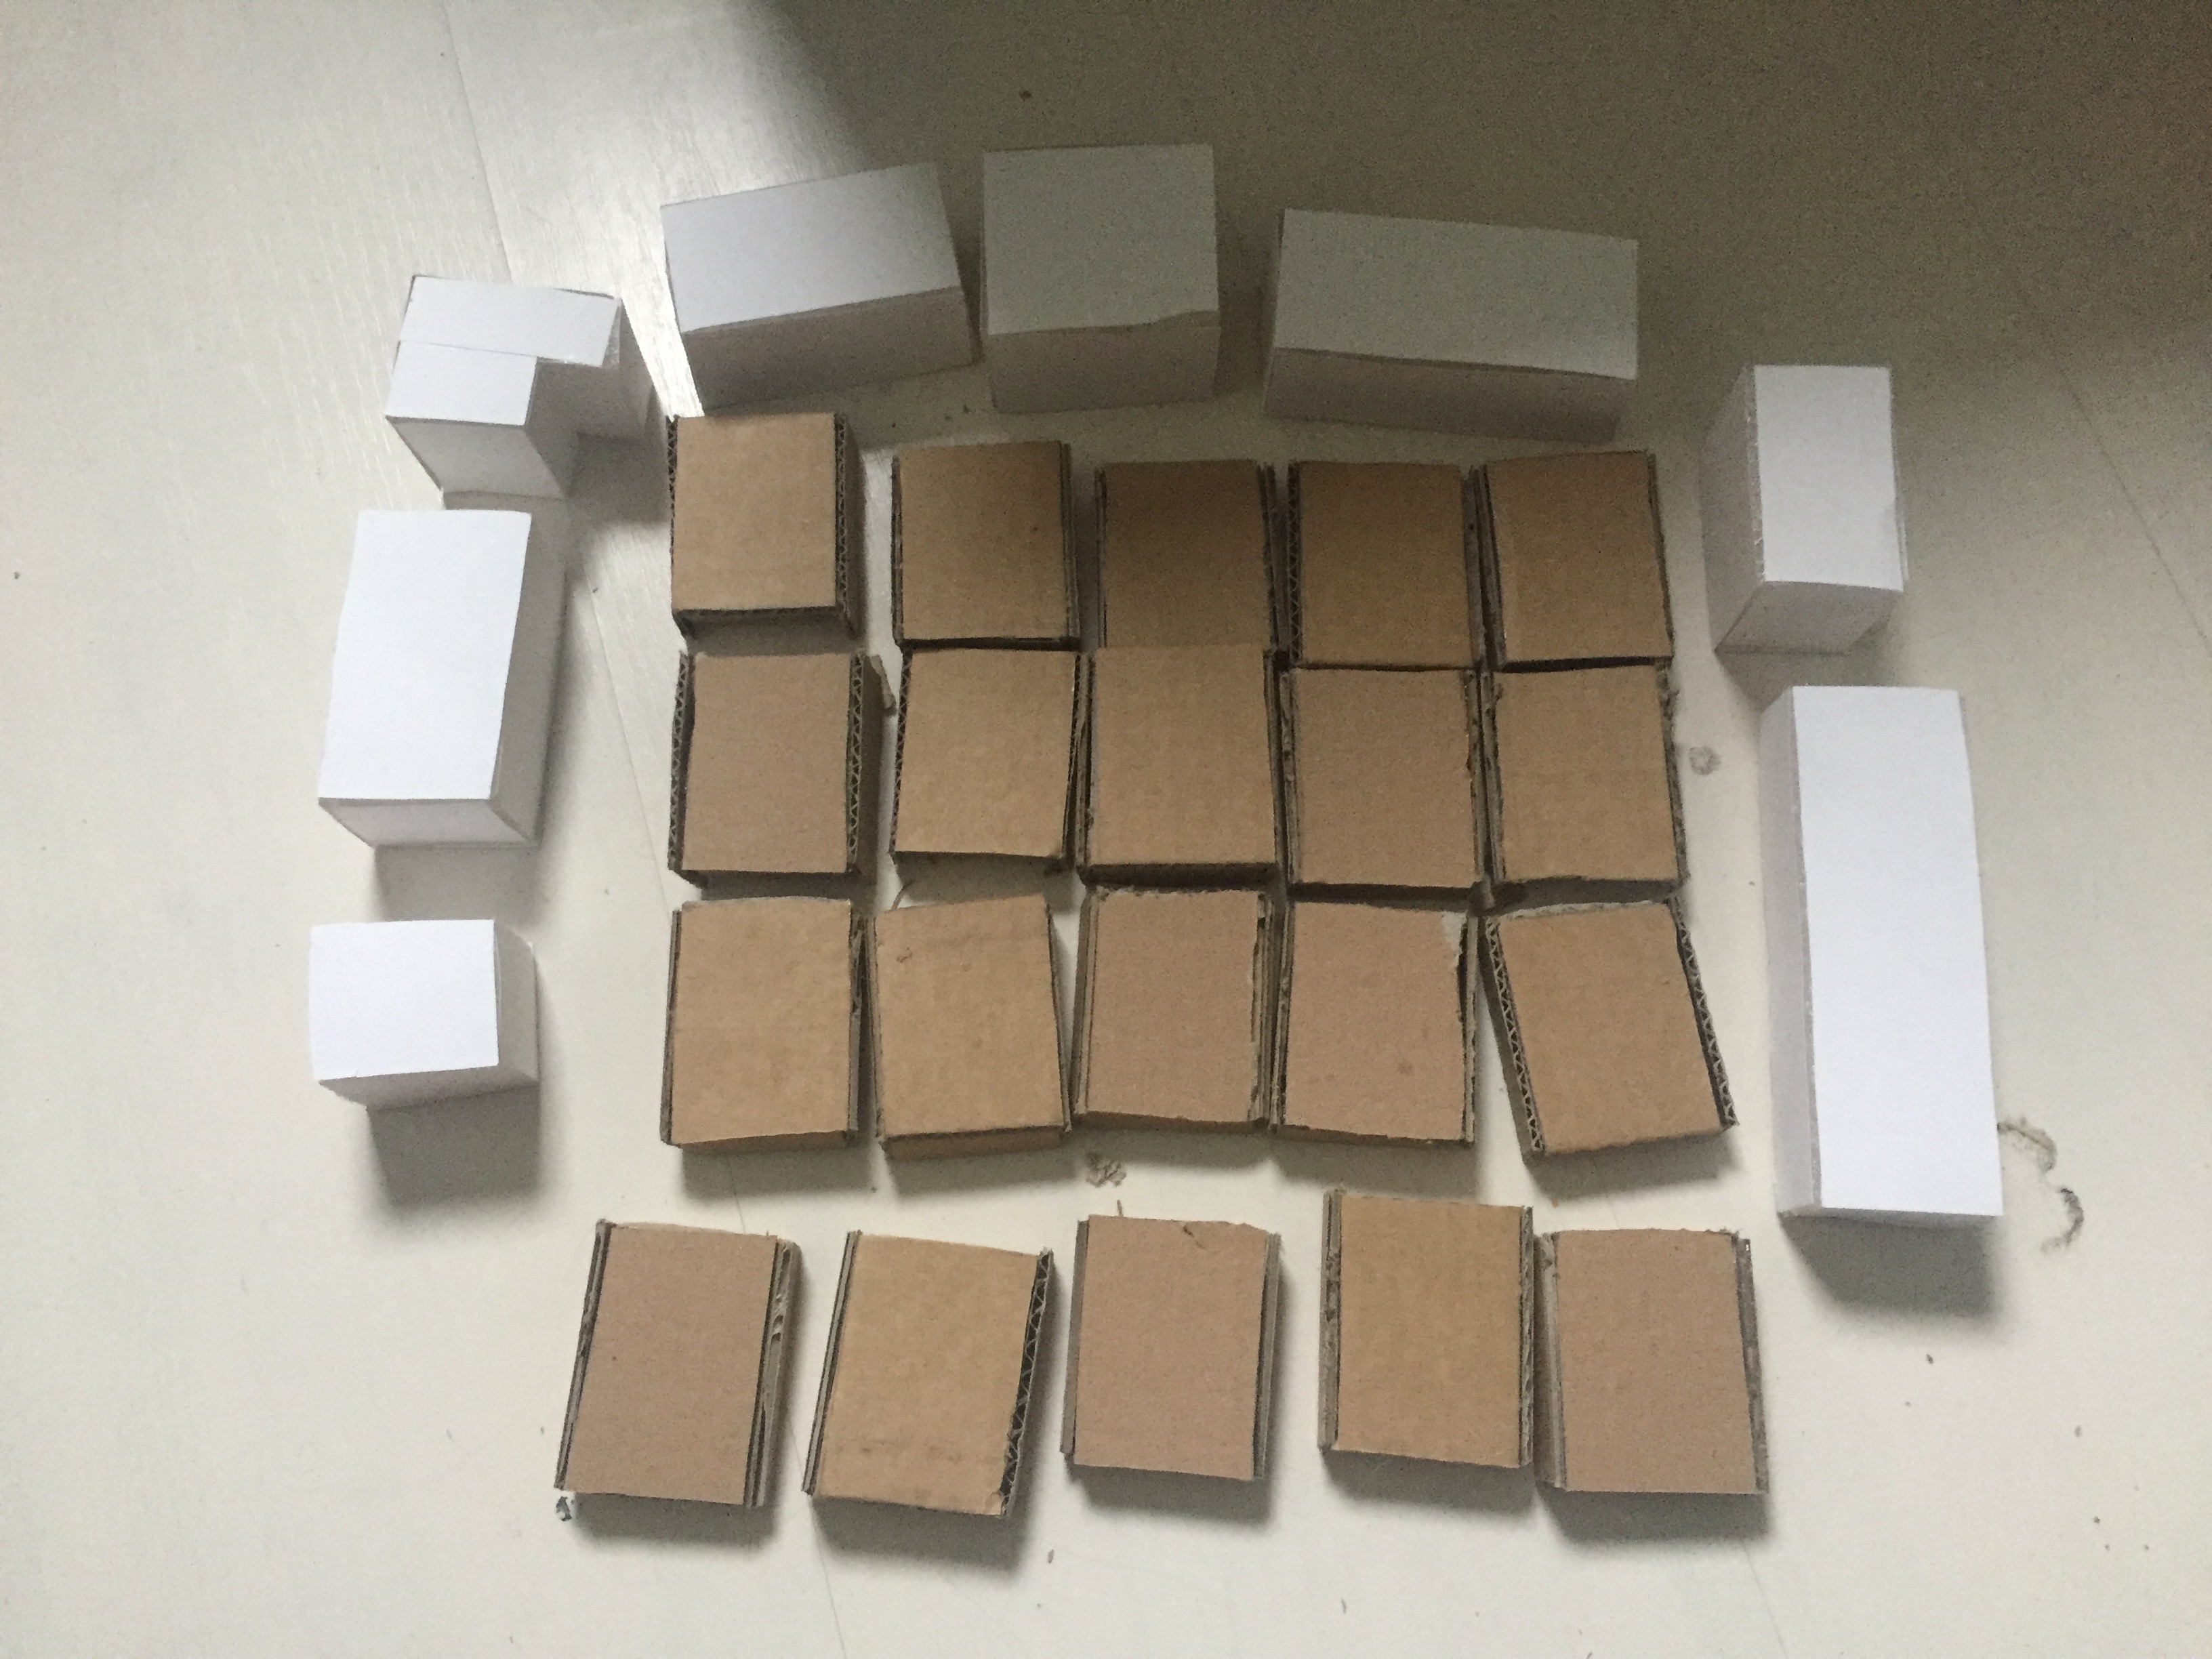
As I said before I needed to make a lot of bars for the chocolates. These also needed to be glued together.
I also needed to make a few fudges. As the pictures shows here on the right I got enough to choose from.
The only thing standing in the way to get them on the chocolates/ the floor is that I still need to paint
them.
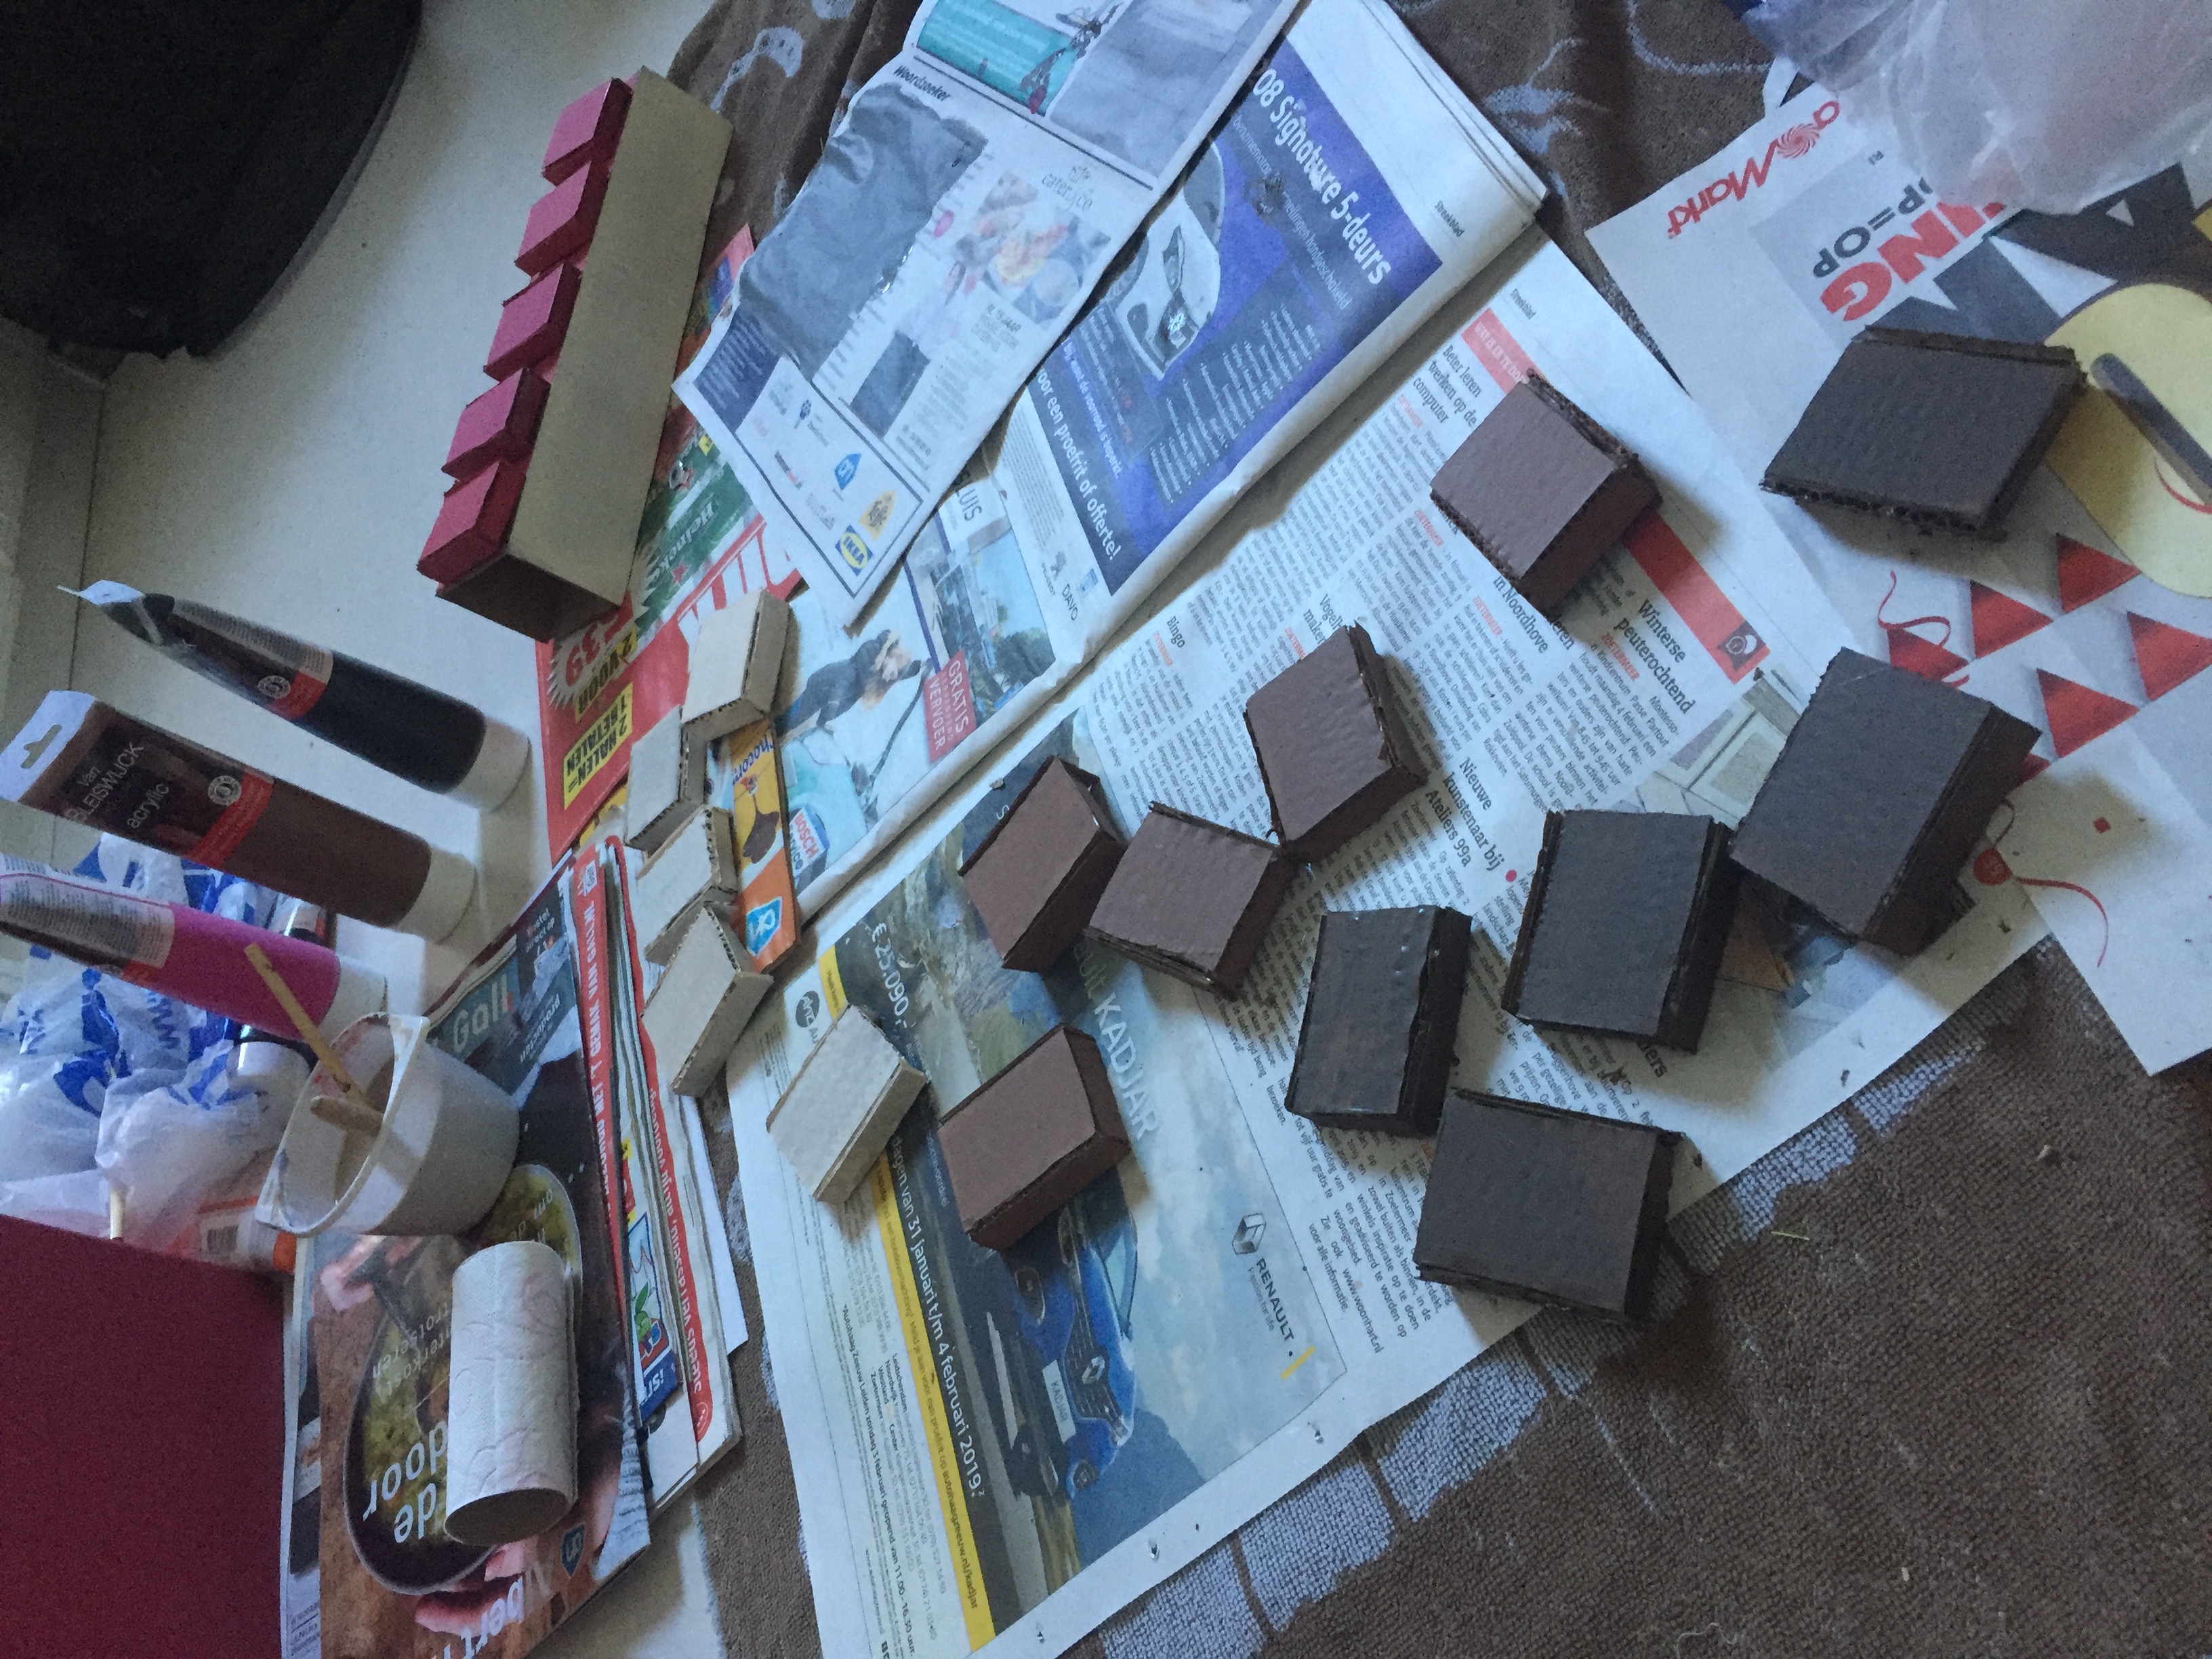
As the picture shows here below I got the paints out and on the chocolatebars and fudges.
I wanted to use for each chocolatebar another flavour. So I made a white chocolate, pure chocolate, milk
chocolate and a pink chocolatebar.
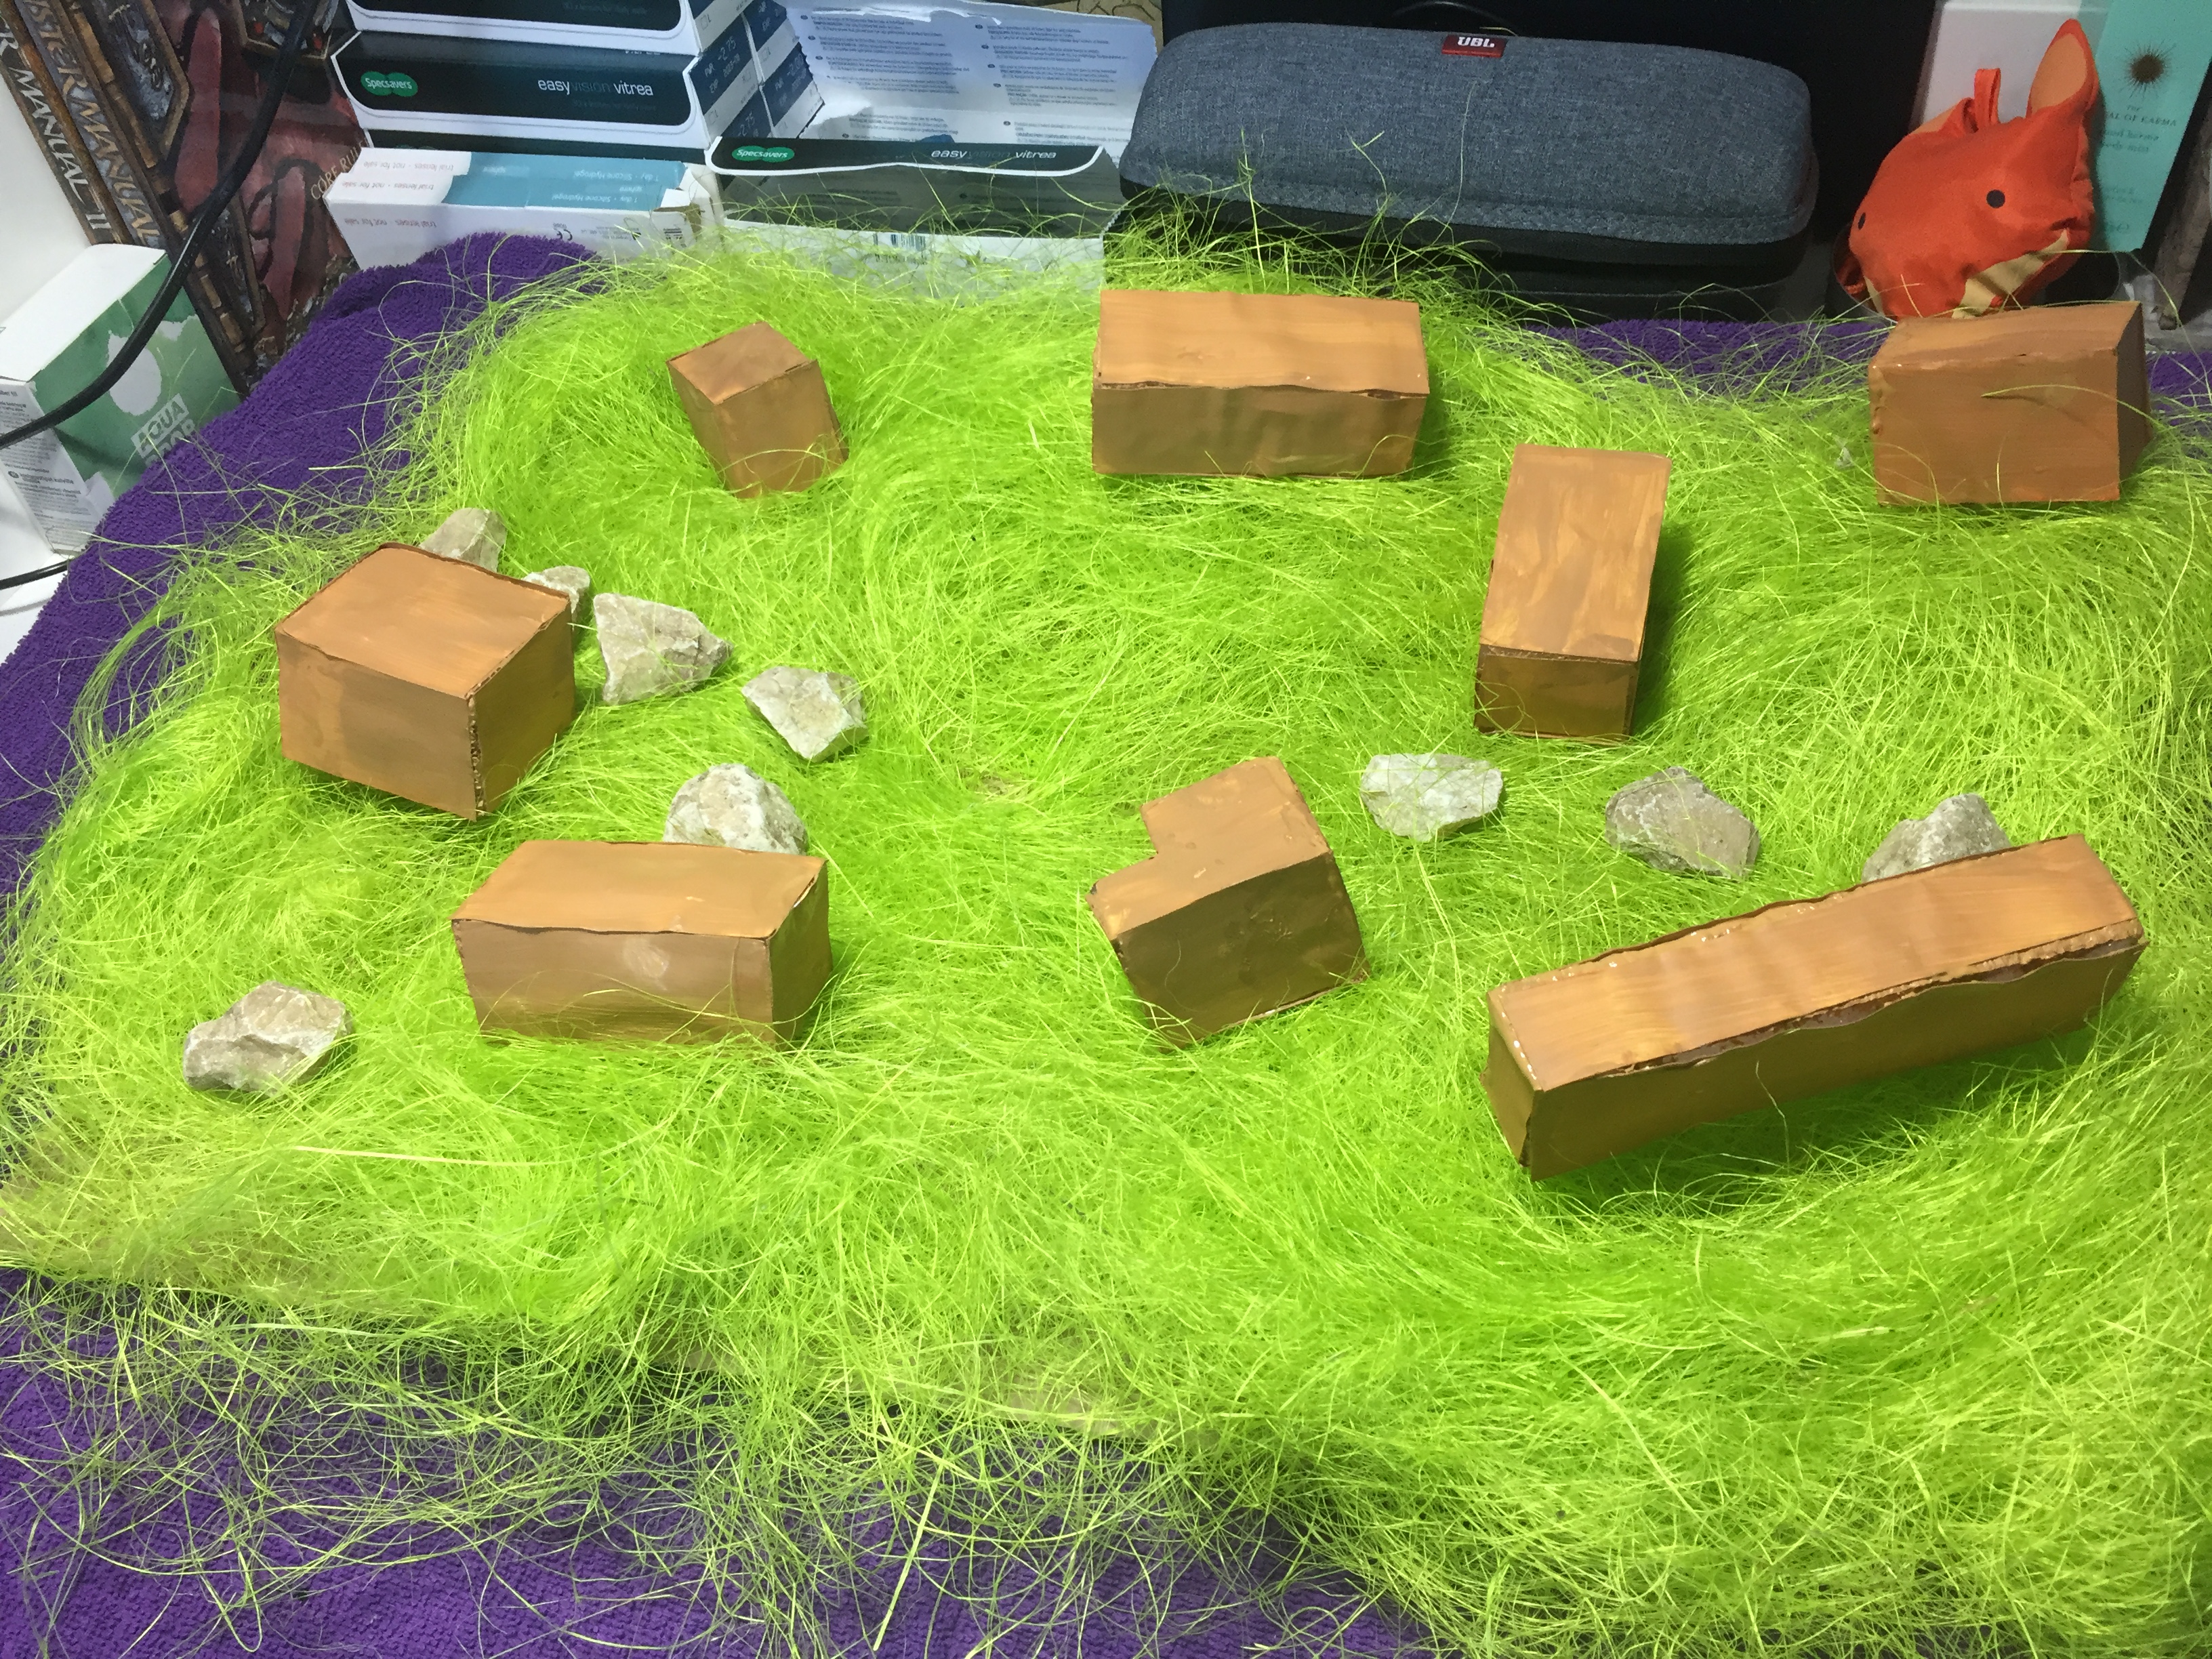
Like I said before, I wanted to paint the floor green. However I thought it would be way cooler to get
actual grass. This later became plastic grass.
Since this grass was quite big and fluffy, the fudges couldn't stay on the ground. Luckily I used that
sponge stuff that could be easily pierced through. I decided to use toothpicks to let them stay in place.
After that I also wanted to make a more visible road around the meetingpoint. I did this with rocks I found
outside.
In "End Result" you'll go to my Instagram and to the post about my Choco Meetingpoint.
In "Story Highlights" you'll go to my Instagram and to the story about the Choco Meetingpoint.